
- Apache 말고 NGINX라는 Web Sever가 있다. 보다 더 많은 기능을 제공한다하는데 관련 내용을 정리해보았다.
[NGINX Main Configuration File]
= /etc/nginx/nginx.conf
- Server Blocks (Virtual Hosts)
NGINX는 다른 Web Site나 어플리케이션 설정을 정의하기 위해서 Virtual Hosts라고도 알려진 Server Block을 사용한다.
각각의 Server Block은 특정한 Domain 혹은 IP 주소와 연관되어 있으며 각각의 Setting 값이 존재한다.
server {
listen 80;
server_name example.com www.example.com;
location / {
root /var/www/example.com;
index index.html;
}
}
| Listening Ports | 들어오는 요청에 대한 Listening Port. 일반적으로 80(HTTP)와 443(HTTPS) 를 사용한다. |
| Server Name | Server Block과 연관된 Domain Name을 정의한다. 다수의 Name를 지정할 수 있다. |
| Location Blocks | NGINX가 특정한 URL 경로에 따른 요청을 처리하는 방법을 정의하는 위치 지시자. 다른 위치별로 Setting과 Rule을 정의할 수 있다. |
| Root Directory | NGINX가 Web Page를 제공하기 위해 찾는 디렉토리 . |
| Index Files | 디렉토리를 요청받았을 때 찾는 파일. 요청받은 파일과 일치할 때까지 순서대로 나열된 파일 이름을 찾는다. |
- Reverse Proxy
NGINX는 다른 Server나 어플리케이션으로 요청을 보내기 위해 역방향 Proxy Server로 동작할 수 있다.
로드 밸런싱이나 동적 콘텐츠를 제공하는데 유용하다.
location /app {
proxy_pass http://backend_server;
}
- SSL/TLS Configuration
NGINX는 SSL/TLS 암호화를 처리할 수 있다. SSL 인증서 / 프로토콜 그리고 다른 보안 관련 설정을 정의할 수 있다.
server {
listen 443 ssl;
server_name secure.example.com;
ssl_certificate /etc/nginx/ssl/server.crt;
ssl_certificate_key /etc/nginx/ssl/server.key;
# Other SSL settings...
}
- Error Pages
Error가 발생 했을 때, 유저가 이해할 수 있는 메시지를 출력하기 위한 Error Page를 관리할 수 있다.
error_page 404 /404.html;
location = /404.html {
root /usr/share/nginx/html;
internal;
}
- Logging
NGINX는 접근 및 Error 로그 파일을 제공한다.
access_log /var/log/nginx/access.log;
error_log /var/log/nginx/error.log;
참고 : ChatGPT
[Linux NGINX 기초 및 구축]
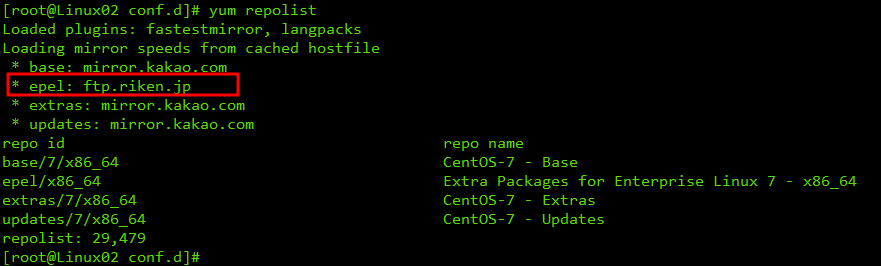
1. EPEL 저장소 및 NGINX 설치
yum -y install epel-release
- NGINX를 설치하기 위해서는 EPEL 저장소를 설치해야한다.
EPEL
- CentOS나 RHEL같은 다양한 Red Hat 기반 리눅스 배포판을 위한 서드 파티 저장소.
- 기본 배포판의 저장소에는 없는 추가 소프트웨어 패키지를 제공한다.
yum -y install nginx
- EPEL 저장소 설치가 완료되면, NGINX 설치가 가능하다.

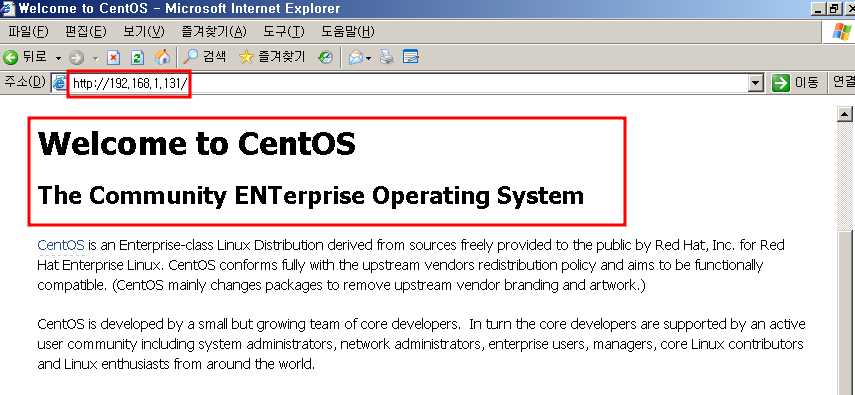
2. NGINX 구동하기
systemctl start nginx
- NGINX를 시작하고 접속해보면, NGINX의 페이지가 출력된다.
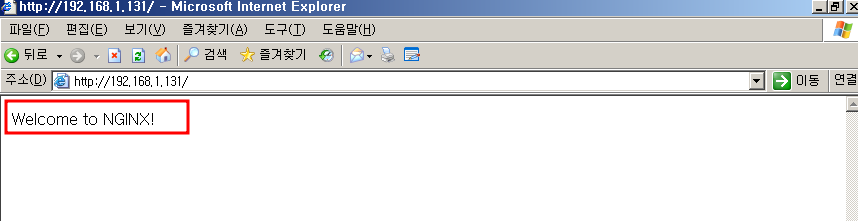
cd /usr/share/nginx/html/
echo Welcome to NGINX! > index.html
- index.html을 수정하여, Main Page를 수정해본다.

- 다시 접속하면, 입력한 문구가 정상적으로 출력되었다.
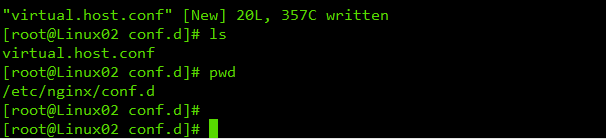
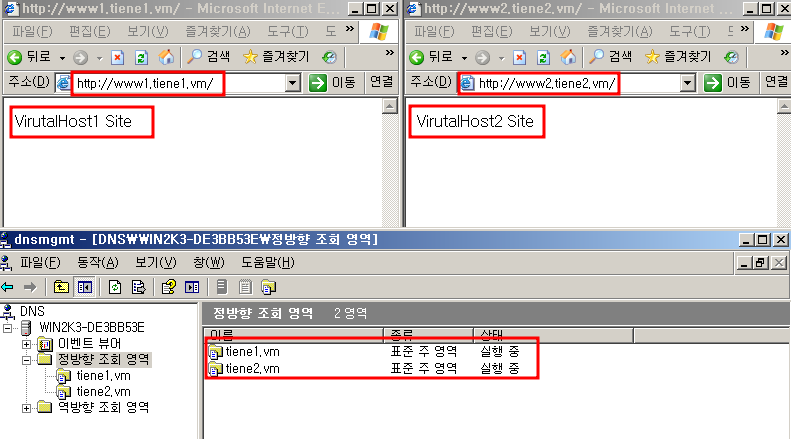
3. 다수의 Server Block를 구성하여 다중 Web Site 구축 (Virtual Hosts)
vi /etc/nginx/conf.d/virtual.host.conf
- 아래와 같이 구성하여 파일을 생성하였다.
# Create New Virtual Host
server {
listen 80;
server_name www1.tiene1.vm;
location / {
root /usr/share/nginx/virtual.host;
index index.html index.htm;
}
}
server {
listen 80;
server_name www2.tiene2.vm;
location / {
root /usr/share/nginx/virtual.host2;
index index.html index.htm;
}
}
- 저장 후, Host 별 디렉토리와 index 파일을 생성하였다.
[root@Linux02 conf.d]# more /usr/share/nginx/virtual.host/index.html
VirutalHost1 Site
[root@Linux02 conf.d]# more /usr/share/nginx/virtual.host2/index.html
VirutalHost2 Site

- 재시작 후, 접속하면, 정상적으로 출력이 된다.
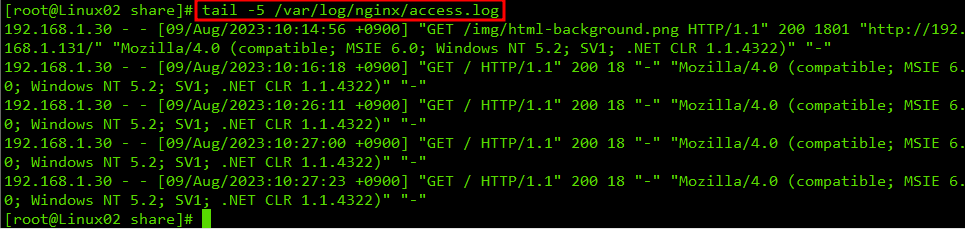
- Log 파일 확인
tail -5 /var/log/nginx/access.log
- 접근 Log 파일에서도 관련 내용이 확인 가능하다.
'IT > ㄴ Linux' 카테고리의 다른 글
| [CentOS] Linux Firewall로 NAT 사용하기[Firewall / Wireshark] (0) | 2023.08.11 |
|---|---|
| [CentOS] Linux Apache에서 가상 호스트를 구성하여 다중 Web Site 구축하기 [ httpd.conf / vhost.conf] (0) | 2023.08.10 |
| [CentOS] Linux Apache 정리 및 구축[/etc/httpd/conf/httpd.conf ] (0) | 2023.08.09 |
| [CentOS] Linux DNS PTR 조회해보기 [ /etc/named.rfc1912.zones] (0) | 2023.08.09 |
| [CentOS] Linux 보조 DNS Server 구축 [/etc/named / slave] (0) | 2023.08.07 |